Take Good Pictures of the Moon
The Moon isn't the easiest to photograph, but it doesn't have to be that way. Follow our step-by-step guide and capture that perfect Moon picture on your phone and your camera.

Take better pictures of the Moon with our top tips for your phone and DSLR.
©iStockphoto.com/deimagine
Rare Black Moon concludes 2024
It happens to the best of us; you notice the Moon looking particularly pretty in the sky, but when you point your camera at it, the result is just a blurry bright dot in a big sky.
With a bit of planning and some pro tips, you can capture our elusive Moon with the camera on your phone or a more advanced camera.
5 Universal Tips for Moon Photography
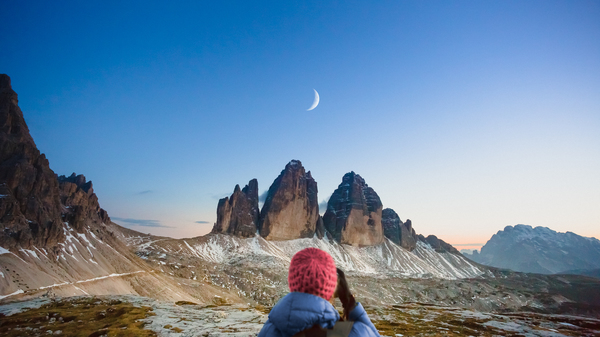
- Scout your location. Lakes, the ocean, windows, and buildings reflect light and add extra oomph to your picture. When the Moon is just above the horizon, you can add mountains, buildings, or other surroundings to your picture.
- Know the moonrise and moonset times. The Full Moon rises in the evening and sets in the morning, coinciding with golden hour when colors are extra vibrant.
- Different Moon phases give different perspectives. For example, the First Quarter Moon rises at midday and can be seen against the blue day sky.
- Add interest to your shot by adding other celestial objects next to the Moon. Find them in our Interactive Night Sky Map.
- Check the weather! A cloudy sky may cover the Moon, though a few clouds can add drama.
Take a Good Photo of the Moon with Your Phone
Phone cameras often have a wide lens and a small sensor, so the Moon might come out looking like a blurry dot of light in the sky. But there is a new generation of phones that let you take better pictures of the Moon. Here is how you can play to the strengths of your phone camera:
- Compose your image: Use your phone's viewfinder and make use of the scenery around you by including trees, buildings, and reflections.
- Control your exposure: Most phones let you control the image's exposure, usually by sliding your finger up and down the screen.
- Turn off the flash: The flash will disturb the natural light.
- Use ambient light: Capture different light sources. For example, during the blue hour, light from buildings gives a warm glow complementing the moonlight.
- Activate night mode: Newer phones often have night mode; this means slower shutter speeds from 1 to 30 seconds. How many seconds you need to expose the Moon depends on the phase and the light around you.
- Zoom in: Newer generation Apple and Android phones will let you zoom in to make the Moon bigger in your shot.
- Use a tripod: Keep that phone still. At slower shutter speeds, the camera is prone to blurry images if bumped.
- Raw for high resolution: Some newer generation Apple and Android phones let you take uncompressed—raw—images.
- Use an editing app: Edit your image in an app like Lightroom to enhance details.
Moon Photography Settings for DSLR Cameras
- Use the big lens: A focal length equivalent of 200 mm or more helps the Moon look large in the image.
- Use a low ISO: Keep your ISO setting between 100 to 200 as the Full Moon is bright.
- Medium aperture: Set your aperture to f/5.6 to 11.
- Stabilize your camera: Use a tripod or another stable surface like a fence or the ground. Use your timer, a shutter with a cord, or a remote to minimize camera movement.
- Manual exposure: Underexpose rather than overexpose the Moon.
- High resolution: To capture as much information and detail as possible, set your camera to the highest resolution (jpeg) or take uncompressed images (tiff or raw).
- Flash highlights: A flash can be used to light up your subject. Set the exposure for the Moon and sky.
- Keep shooting: Play around with different apertures and shutter speeds, and you might just get that perfect shot.
- Edit your images: You can also crop, add contrast, tweak colors, layer, and so much more by processing your images using photo processing software.